DESCRIPTION
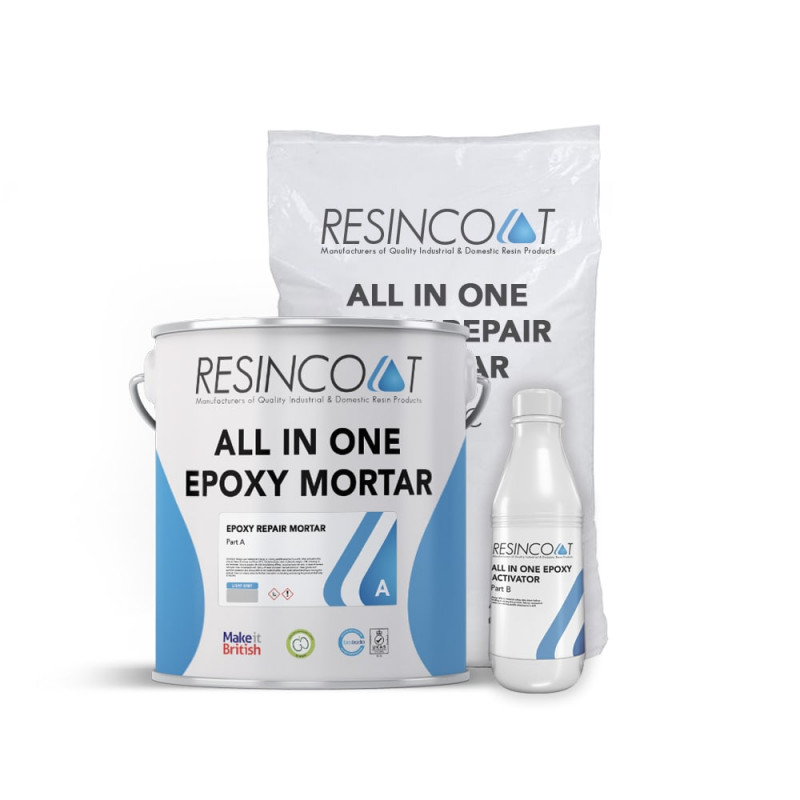
Resincoat All-in-One Epoxy Repair Mortar does it all. Whether you are repairing steps, fixing up pot holes in damaged road surfaces or even securing bedding anchors and railing posts. Complete with activator and epoxy resin the All-in-One kit gives you everything you need for a professional finish on almost any concrete surface. Our formula allows easy application making this the perfect choice for the DIY user whilst also maintaining the strength, quality and reliability for our professional customers with great chemical resistance and anti-slip for both industrial and commercial environments. Proudly manufactured in the UK, our resin components ensure a highly durable finish that is incredibly resilient ensuring your repair can withstand heavy traffic, lasting for many years.
KIT QUANTITIES
| 5Kg Sizes |
10Kg Sizes |
25Kg Sizes |
| 1 x Part A (Resin) |
1 x Part A (Resin) |
1 x Part A (Resin) |
| 1 x Part B (Hardener) |
1 x Part B (Hardener) |
1 x Part B (Hardener) |
| 1 x Part C (5Kg aggregate) |
1 x Part C (10Kg aggregate) |
1 x Part C (25Kg aggregate) |
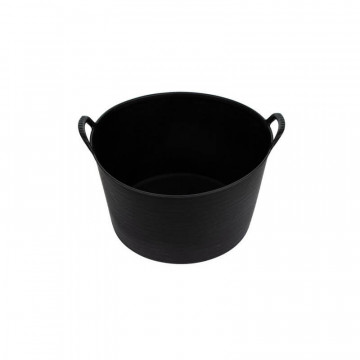
| 1 x Small Mixing Bucket |
1 x Flexi Mixing Bucket |
1 x Flexi Mixing Bucket |
*Please note 1 mixing bucket is supplied per order.
COVERAGE RATES
Please see below for approximate coverage rates. If you are coating a large area and would like expert advice, please call our team who will be happy to assist you.
5kg - covers approximately 0.6m² at a 5mm thickness
10kg - covers approximately 1.2m² at a 5mm thickness
25kg - covers approximately 3m² at a 5mm thickness
APPLICATION GUIDE
Preparation
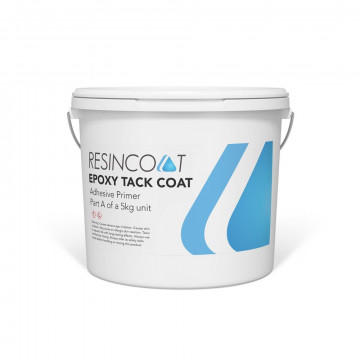
Before using Resincoat All In One Concrete Repair Mortar, we recommend that any hole or defected concrete be thoroughly cleaned using a wire brush and vacuumed to remove any remaining dust or dirt. Whatever condition the substrate, we recommend the use of Resincoat Tack Coat. This will seal the surface and ensure a good bond to the subsequent application.
Application
We advise when applying this product the ambient temperature is at least 7°C.
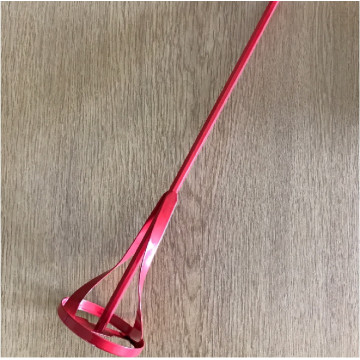
1. Mix Part A on its own with a mixing paddle, attached to an electric drill, for about 2 minutes. Once mixed, add ALL of Part B and continue to mix for another 2 minutes, keeping the paddle in suspension to avoid mixing air into the unit.
2. Decant into a larger mixing vessel (30L for 25kg mix size). Gradually add filler (Part C) and mix again for a further 2-3 minutes until desired consistency achieved.
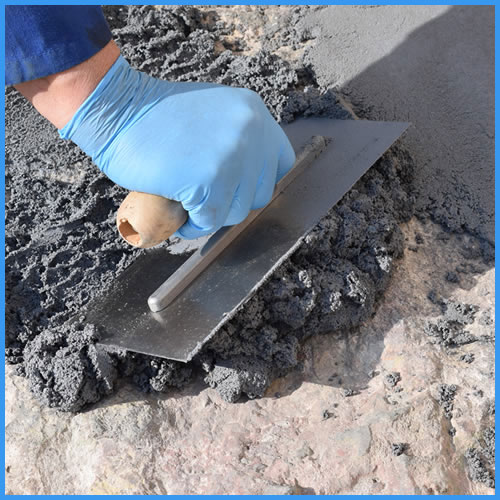
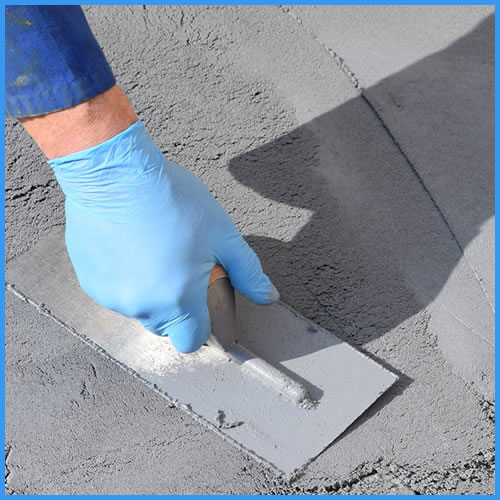
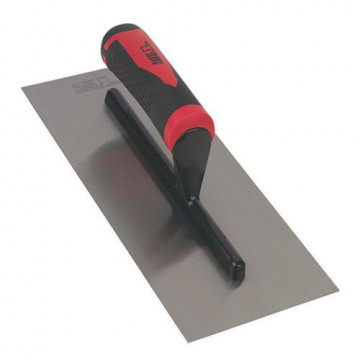
3. The mixed unit must be applied immediately, using a steel float or trowel to shape and compact the mortar into place along the wall.
4. For a perfect, smooth finish regularly wipe the trowel with a cloth dampened with white spirit as you apply.
5. Once applied protect from weather and leave to cure for 12-24 hours at 20°C before the area is trafficable.
PLEASE NOTE: The pot life of this product is 30 minutes. This means that once parts have been mixed, the paint will start to chemically cure after this time. Ensure you remove the paint from the tin in this window. The paint will then be workable on your floor for up to 40 minutes.
Pot life = Time to harden in pot following addition of hardener
Working Time = Time to apply product before it becomes unworkable
USEFUL INFORMATION
• This product should NOT be split. Taking smaller quantities from each tin, even if measured correctly, may cause issues with activating.
• Please Note: In the case of industrial freezers - this product will not cure below -3°C, regardless of how long it is left for.

