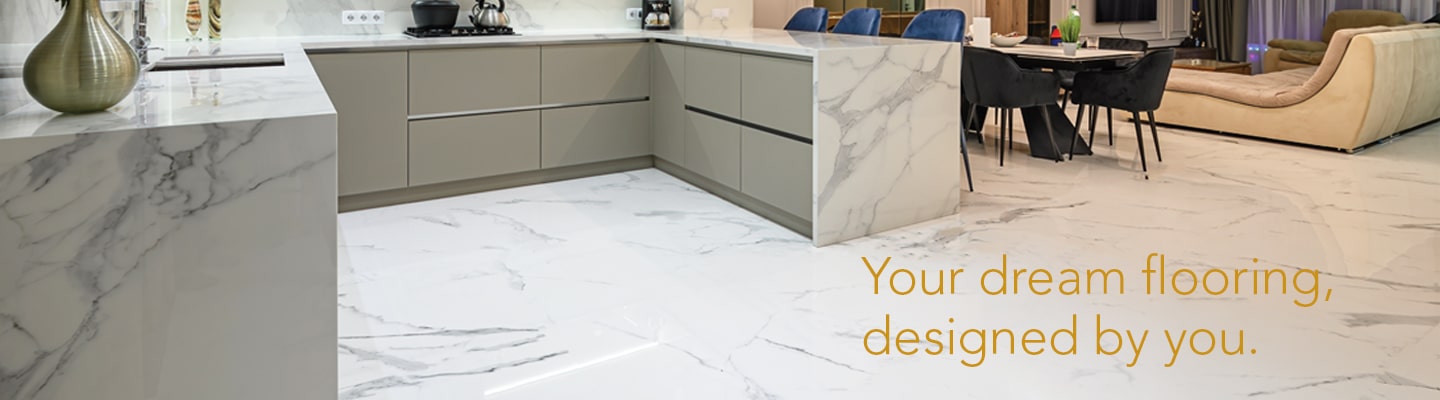
Each component of our Metallic Epoxy Flooring System has been specially formulated, allowing you to create stunning decorative surfaces. The beauty of this system is it gives the user full control over each creative aspect of the project, crafting exquisite, bespoke marble-like flooring in either homes or commercial setting. The smooth high gloss finish exudes style and is also extremely easy to clean and maintain. Our Metallic Epoxy Design Coat is left unpigmented, allowing the user to add their own mix of pigmentation, creating a very unique and personal colour scheme.
Metallic systems are great for creating eye catching floors with every finish being completely unique. These systems are incredibly durable making them ideal for heavy traffic in commercial settings such as restaurants, nightclubs, showrooms and workshops.
COLOUR GUIDE
Explore our stunning range of metallic shades to find the perfect colour for your Resincoat Metallic Epoxy Floor:
Metallic Epoxy Flooring System Colour Guide
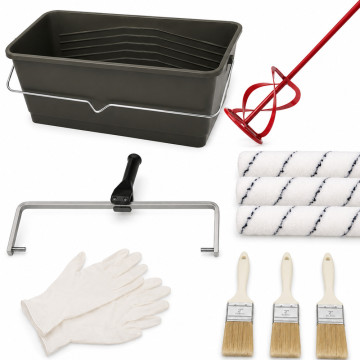
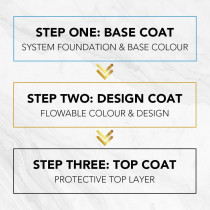
WHAT YOU NEED FOR A METALLIC EPOXY FLOORING SYSTEM:
Resincoat Metallic Epoxy Base Coat (Step 1): The Resincoat Metallic Epoxy Base coat sets the tone of your floor. The base coat is available in white, grey or black and seals & primes your floor.
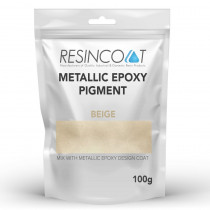
Resincoat Metallic Epoxy Design Coat (Step 2): Resincoat Metallic Epoxy Design Coat is the heart of the Metallic Epoxy Flooring System. It is a two-part clear epoxy resin pigmented with your choice of colours to create your own metallic or marble effect flooring design.
Resincoat Metallic Top Coat (Step 3): Resincoat Metallic Top Coat is available in two options depending on your needs. The first is a single-pack water based top coat that is exceptionally easy to install, whilst the second option is a two-part high gloss UVR top coat which offers a more durable & robust finish, ideal for areas with high foot traffic.

HOW TO APPLY:
We advise when applying this product the ambient temperature is at least 7°C. By this stage the floor should have been thoroughly prepared, ready for coating. Please refer to our Metallic Epoxy Base Coat for full instructions and purchase options.
1. Pour 100% contents of PART B into the Resincoat Metallic Epoxy Design Coat PART A tin and thoroughly mix by mechanical means (a paddle on the end of a drill) until a uniform colour and texture is achieved and the curing agent has fully dispersed.
2. Once fully incorporated, add all the pigment into the finished unit and mix until a uniform colour and texture is achieved.
*Please note: you will be supplied with enough pigment colour for the size you choose. For sizes 0.625m2 & 1.25m2 you will be supplied with 50g of pigment & for every 5m2 of design coat, you will receive 100g of pigment.
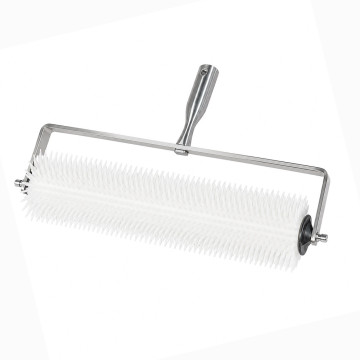
3. Apply the first Metallic Epoxy Design Coat by pouring contents completely across your floor and evenly spread across the floor using a roller (be sure to hold the bucket low to the floor to avoid any splashing).
4. Leave up to 24 hours to fully cure.
5. Repeat steps 1 & 2 for additional colours. This is the creative stage of the process, once your additional colour has been thoroughly mixed, pour across your floor in your chosen decorative pattern.
6. Use a roller or squeegee (squeegee not included) to create your pattern, evenly distributing the product across your floor *Please note: this is not the only way to apply, please call our technical team for advice on other techniques.
7. Allow to cure for 24 hours or when not tacky to touch before moving onto the Metallic Top Coat application.
Please note: you may wish to further sand down in between coats for the ultra-smooth finish. Please refer to the datasheet for additional advice on application.
Good to know:
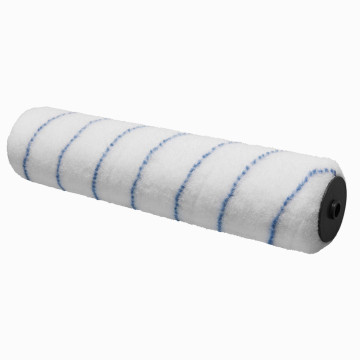
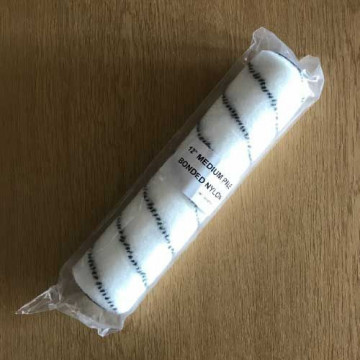
• Roller sleeves should be used once per coat, two coats will require two roller sleeves.
• This product should NOT be split. Taking smaller quantities from each tin, even if measured correctly, may cause issues with activating.
• This product is applied by roller as a paint and is NOT self levelling.
• Be advised: in some cases, white or light colour systems may experience minor discolouration.